AEDs can mean the difference between life and death when sudden cardiac arrest occurs. Before finding yourself in an emergency situation, it’s helpful to become familiar with this powerful device and understand how to effectively use one so you can react confidently in a real-life scenario. Follow along as we explain AED usage in 5 simple steps!
Always remember to follow the prompts of your AED as models vary. AEDs are there to help guide you through each step of the process!
STEP 1: Turn on the AED.
If another bystander has gone to retrieve the AED, perform CPR on the victim until it arrives. As soon as an AED arrives to the victim, press the “Power” button to turn on the device. From the moment the device is powered on, a voice will begin to guide you and provide directions.
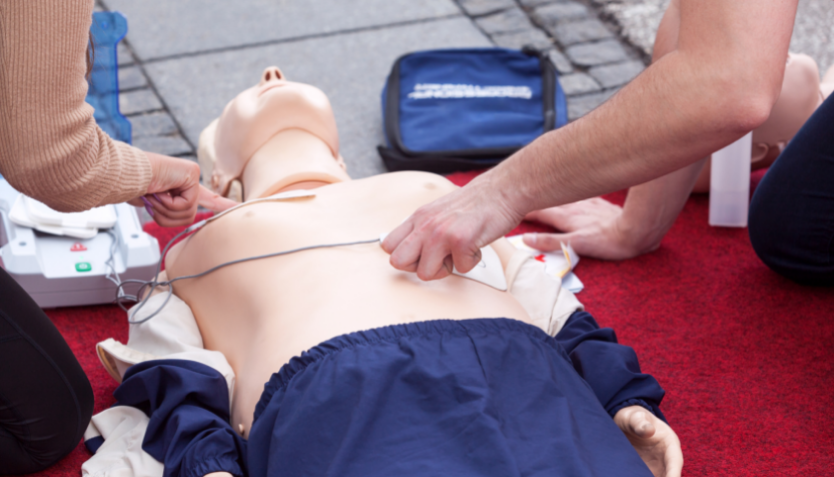
STEP 2: Attach the pads to the victim’s chest.
AED pads should be applied to a victim’s bare, dry chest. If the chest is wet, use a towel to dry before applying the AED pads. One pad should be applied to the right-side chest beneath the collarbone, and the other should be applied a few inches below the left armpit. Many models will have images on the pads to help you place them in the correct spot.
Plug the connector into the AED after attaching the pads (if your model does not come with the connector already attached). Confirm that no one is touching the victim, then confidently wave your hand over the victim’s body and announce “Everyone clear!”.
STEP 3: Stand back for analysis.
This is where the AED begins to do its most important work – determining whether the victim’s heart requires a shock. It is critical that no one be touching the victim as the AED analyzes. If someone is touching the victim, the AED can pick up on that person’s heart rhythm and falsely indicate whether or not a shock is needed.
STEP 4: Deliver the shock if advised.
After analyzing, the AED will announce whether a shock is advised. If a shock is advised, confirm once more that no one is touching the victim and announce “Everyone clear!”. If someone else touches the victim when the shock is delivered, the bystander can be shocked and another medical emergency can occur. Press the shock button (usually an orange or red button) and wait for further instructions.
If the AED announces that a shock is NOT advised, perform CPR until further help arrives or signs of life are shown.
STEP 5: Perform CPR and follow further instructions.
After a shock is delivered, the AED will prompt you to continue performing CPR. Immediately begin cycles of 30 compressions and 2 breaths. The device will then re-analyze and advise if another shock is needed. Continue to follow the AED’s instructions until further help arrives.
The Bottom Line
AEDs are designed to be user-friendly. However, they can still be intimidating when used in a time-sensitive, high pressure environment. Attending a CPR/AED certification class allows you to spend hands-on experience with a trainer AED in a classroom setting, running through each step of the process until you are confident in your ability to quickly use the device.
Living for Zachary provides multiple AHA HeartSaver CPR/AED Certification Classes to the public for free each year; join us to become a Heart Hero this year!